Upload a Custom Indicator
Instead of a standard indicator, you can upload your own custom indicator and use it in your EA.
In short:
- Upload the .mq4/.mq5 source file (preferred) or the compiled .ex4/.ex5 file.
- EA Builder Pro analyses the indicator: its parameters and its modes (lines and arrows). This can take up to 15 minutes.
- Then find out which mode is which (Plan A, B or C below) and give the modes a name.
Upload your indicator
Section titled “Upload your indicator”There are 2 ways to upload a custom indicator:
- When adding an indicator to your EA: Add indicator, then Upload Custom Indicator.
- On the My Indicators page (Indicators in the navigation): Upload Custom Indicator.
Two file formats are supported:
- mql (source code, .mq4 / .mq5): preferred, because it is analysed faster and more accurately.
- ex (compiled, .ex4 / .ex5): when you don’t have the mql file. Our system makes its best effort to analyse the indicator.
You can only upload files of the platform you have selected with the platform button (MT4 / MT5) in the app bar:
.mq4 / .ex4 in MT4 mode, .mq5 / .ex5 in MT5 mode. To upload an indicator for the other platform, switch the mode first.
- Click Upload Custom Indicator and select your indicator file.
- Wait for the analysis. The page updates automatically: you can keep it open or come back later.
- When the indicator is imported, check its modes (see The Mode Parameter).
- Add it to your EA: Add an indicator to your EA.
The analysis
Section titled “The analysis ”After the upload, EA Builder Pro analyses the indicator in two steps: first its parameters, then its modes (lines and arrows). This can take up to 15 minutes. The page updates automatically.
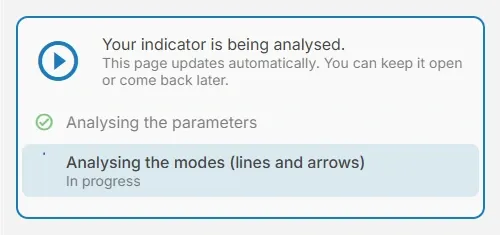
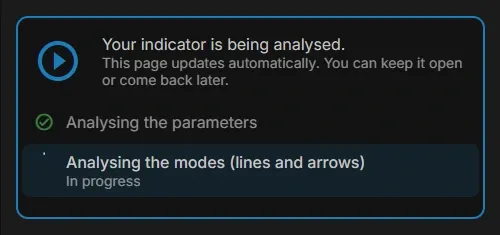
All statuses (Queued, Being analysed, No modes, Failed) are explained on My Indicators.
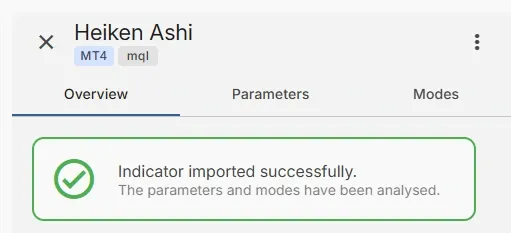
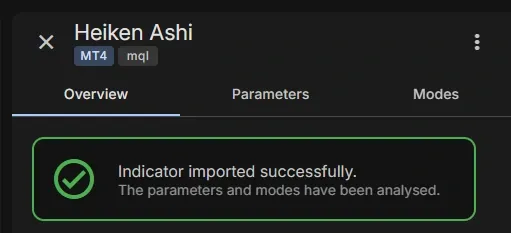
When the analysis is done, the Overview shows the result:
If all went well, you’ve successfully uploaded your custom indicator.
Chances are you’ve already used the indicator in MetaTrader. If not, take some time to do so and familiarize yourself with it. Pay special attention to its modes.
When uploading a custom indicator results in an error
Section titled “When uploading a custom indicator results in an error”When the indicator can’t be processed, its Overview shows Error processing your indicator. with what to check:
- Uploading a Market Place indicator? Contact us to process it for you (subscribers only).
- Do not upload Expert Advisors (EAs).
- If this indicator is using other indicators, try again after uploading the other indicators.
- Do not upload renamed indicators, for example
Indicator.ex5renamed toIndicator (1).ex5.
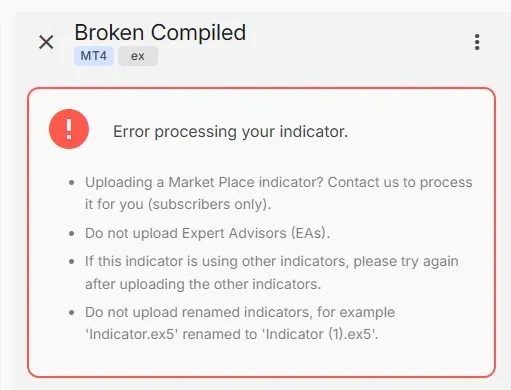
If the issue persists, double-check that you’ve uploaded the correct file, and feel free to contact us.
The Mode Parameter
Section titled “The Mode Parameter”If your custom indicator has one or more values (lines, arrows, histograms, colors), you must use the right one(s) in your EA. Each value is a mode (in MQL: a buffer). To find the right mode, follow the plan that matches what you see on the Modes tab of your indicator.
Which plan to follow
Section titled “Which plan to follow”- The modes already have names that match the values on your chart: no plan needed, set up the signal
- Modes were found, as many as in MetaTrader’s Data Window: Plan A
- Modes were found, but not as many as in the Data Window: Plan B
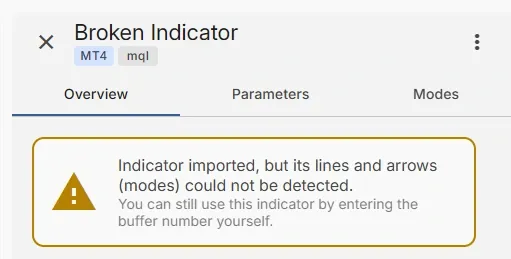
- “Indicator imported, but its lines and arrows (modes) could not be detected.”: Plan C
The example below uses an arrows indicator. The plan is the same for any type of indicator (histogram, line, color, etc.).
Plan A: When Finding Modes Succeeded
Section titled “Plan A: When Finding Modes Succeeded”Our tool detected your indicator’s modes. Now find which mode is the one you want to use. When you are lucky, the number of modes in MetaTrader equals the number of modes found by our tool.
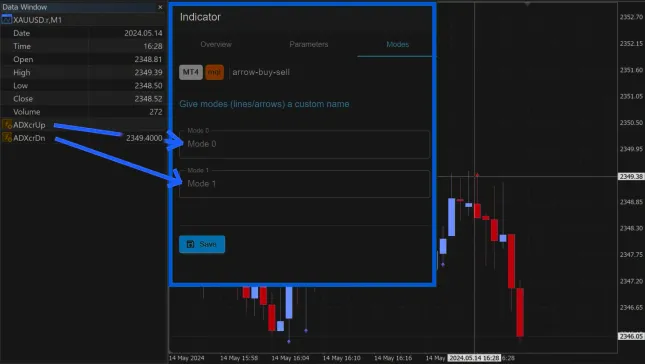
- In MetaTrader, open the Data Window (Ctrl + D) and count the indicator’s modes.
- Hover your mouse over an Up arrow on the chart. The mode that shows a value in the Data Window is the Up arrow, for example the first mode (Mode 0).
- Hover over a Down arrow to find the Down arrow mode, for example the 2nd mode (Mode 1).
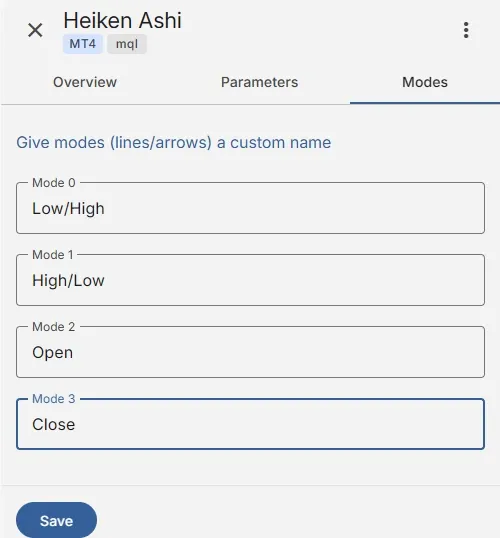
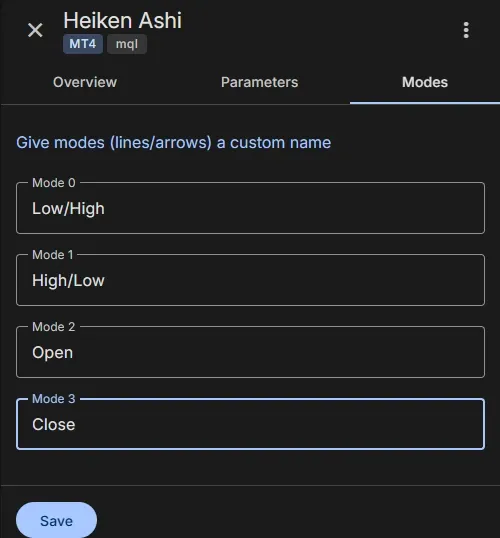
- In EA Builder Pro, open the Modes tab of your indicator and give the modes a name:
Up arrowandDown arrow. - Click Save.

You’re now finished adding your indicator and you can proceed to set up the signal.
If the number of modes found by our tool doesn’t match the number of modes in the Data Window, use a free tool to find out which mode contains your Up and Down arrows: follow Plan B.
Plan B: Find the Correct Modes Using the Buffer Reader
Section titled “Plan B: Find the Correct Modes Using the Buffer Reader”- Open the Market in MetaTrader and search for the EA called Buffer Reader (MT4) or Buffer Reader for MT5. Install this EA.
- Apply the EA to your chart. Enter the name of your indicator, without the
.ex4or.ex5extension, and export the data. - Open the exported file in Excel: go to your MetaTrader folder (Ctrl + Shift + D), then
MQL4orMQL5, thenFiles. - Find the bar with your arrow by its timestamp, and the column that has a value on that row: that column is your mode.
- Rename your modes on the Modes tab, for example to
Up arrowandDown arrow, and click Save.
If you get an error in step 2, make sure you made no typing error and that your indicator is in the Indicators folder,
not in a sub-folder like Examples, Market or any other folder.

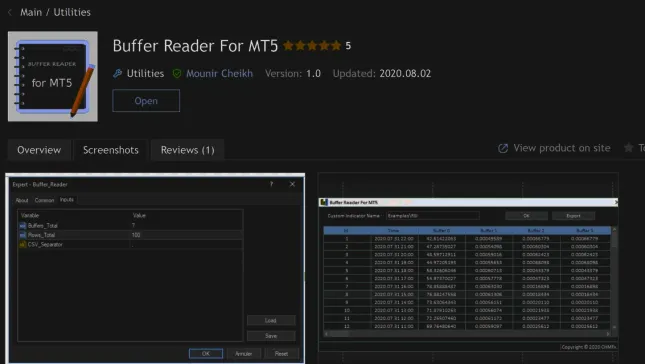
How to read the export:
- 1: the row number
- 2: the timestamp of the bar
- 3 and further: the indicator’s buffers: the 1st buffer column is Mode 0, the 2nd is Mode 1, and so on
A long number (2147483647) means “empty value”: the mode has no value on that bar.

You’re now finished adding your indicator and you can proceed to set up the signal.
Plan C: Finding Modes using the Buffer Reader
Section titled “Plan C: Finding Modes using the Buffer Reader”Our tool couldn’t detect your indicator’s modes: “Indicator imported, but its lines and arrows (modes) could not be detected.” Try to find them manually. It’s also possible that the indicator doesn’t contain any modes: then it cannot be used for automation and you need another, similar indicator.
- Find the mode numbers with the Buffer Reader, as in steps 1 to 4 of Plan B.
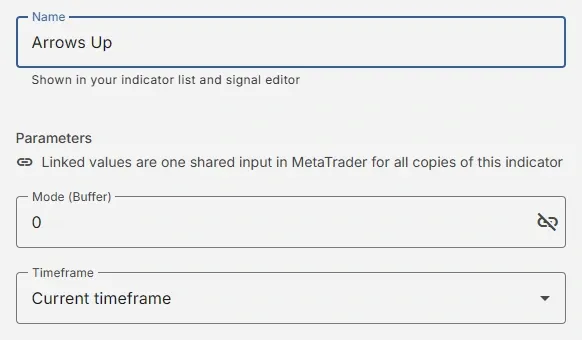
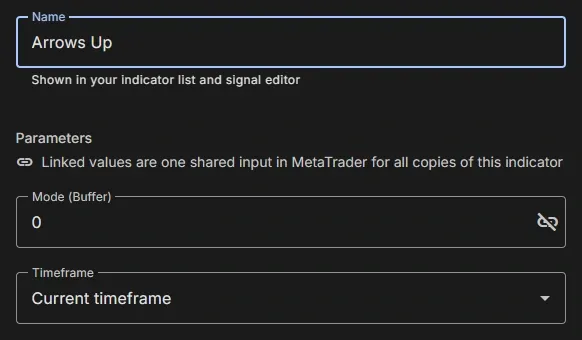
- Add the indicator to your EA and enter the mode number in its Mode (Buffer) field, for example
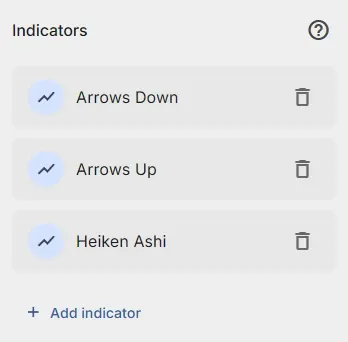
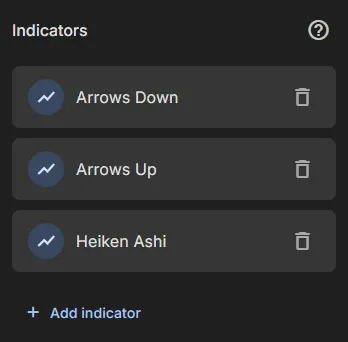
0. Give it a name that says which value it contains: for the up arrows, name it for exampleArrows Up. - Add the same indicator to your EA again, with Mode (Buffer)
1and the nameArrows Down.
You’re now finished adding your indicator(s) and you can proceed to set up the signal.
Name the modes (lines and arrows)
Section titled “Name the modes (lines and arrows)”Give the modes of your indicator a name, so you recognize them in the signal editor: Up arrow instead of Mode 0.
- Open your indicator on My Indicators, or in the panel next to the indicator in your EA.
- Open the Modes tab (“Give modes (lines/arrows) a custom name”).
- Enter a name for each mode you use.
- Click Save.
The names show in the Modes section when you add the indicator to an EA (Mode 0 · Up arrow) and in the signal
editor (Name | Up arrow).
Related
Section titled “Related”- My Indicators: analysis status, download and delete
- Add an indicator to your EA: name, modes and parameters
- Use indicator in Trading Signal: arrow and color indicators
MetaTrader is a registered trademark of MetaQuotes Ltd. EA Builder Pro is not affiliated with MetaQuotes.